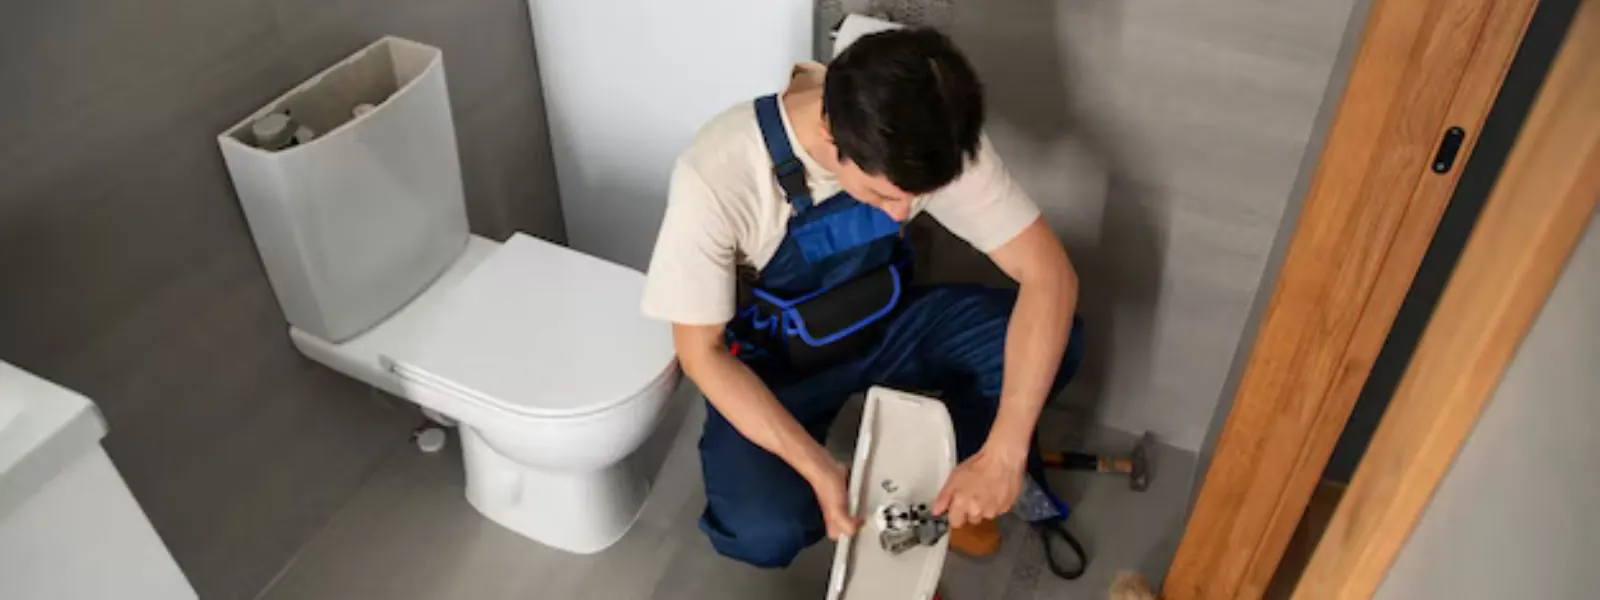
A new toilet looks like the easy end of a bathroom remodel. Lift the old one, set the new one down, tighten two bolts. In practice, the toilet is the last thing to go wrong and the first thing people blame, because the real trouble sits underneath it.
The flange, the wax ring and the floor decide whether your Elmwood Park bathroom stays dry. Treat this as a prep-heavy job. If you do the preparation properly, the install itself takes minutes.
Gather and check these before you shut the water off
A half-finished toilet job means a family without a bathroom, so stage everything first.
The new toilet and a matching seat
Confirm the rough-in, the distance from the wall to the center of the drain, matches the toilet you bought. Many are sized for the same standard, but check the box.
A fresh wax ring and closet bolts
Reusing a wax ring is a gamble. Buy a new ring and new bolts. Some people like a ring with a plastic horn, others a thicker standard ring. Match it to your flange height.
A new supply line
Old braided or plastic lines can crack. A new one costs little compared with a flooded floor.
Basic tools and cleanup supplies
An adjustable wrench, a putty knife, a level, towels, a bucket, a sponge, rags and gloves. Disposable bags help with the old wax and any waste.
Removing the old toilet in five moves
Close the shutoff and empty the tank
Turn the supply valve clockwise until snug, flush, then sponge out what is left in the tank and bowl.
Disconnect the supply line
Hold the valve steady and loosen the nut by hand or with a wrench. A little water will come out, so keep a towel handy.
Remove the nuts on the closet bolts
Pop off the plastic caps and loosen the nuts. Corroded nuts may need steady pressure or a small hacksaw blade slid in sideways.
Rock and lift
Straddle the bowl, rock gently side to side to break the wax seal, then lift straight up. A toilet is heavy and awkward, so bend your knees or get a helper.
Plug the opening
Stuff a rag into the drain flange so sewer gas does not drift into the room and nothing falls in.
Does the floor look damaged once the toilet is up?
A licensed plumber can inspect the flange and subfloor and say what is safe to leave and what is not.
Read the flange before you do anything else
With the toilet off, scrape away the old wax and look hard at the flange, the ring on the floor that the toilet bolts to. You want a flange that is solid, round and securely fixed, sitting at about the same height as the finished floor.
Common faults include a cracked or broken ring, a flange that sits below a new tile floor, rust that has eaten the bolt slots, or a flange that wobbles. Repair rings and spacers exist for some of these. A cast iron flange that has deteriorated, or one that is no longer attached to the pipe below, is more serious.
Press down on the floor around the opening. If it flexes, feels spongy or smells musty, water has been getting in for a long time. A soft floor is the stop sign in this job.
Flange and floor problems: fix it yourself or call
| What you see | Typical meaning | Next move |
|---|---|---|
| Clean flange, level with the floor | Healthy base | Proceed with a new wax ring |
| Flange sits slightly low | Floor raised after tiling | Use a flange extender or thicker ring as the instructions allow |
| Cracked plastic or metal ring | Seal and bolts cannot hold | Repair ring, or call if the damage runs deep |
| Corroded cast iron, loose or crumbling | Pipe below may be failing | Call a plumber, do not set the toilet |
| Soft, dark or spongy floor | Rot from a long slow leak | Stop and call before anything else |
Skipping these checks to finish by dinner is how a toilet ends up rocking and weeping again within months. See our toilet repair page if you suspect deeper trouble.
Setting the new wax ring and the bowl
Install the new closet bolts in the flange slots with the heads facing the right way, so they stand upright. Place the wax ring on the flange, or on the underside of the toilet horn, whichever the ring instructions say. Do not squash it ahead of time.
Lower the bowl straight down onto the bolts in a single motion. Do not twist or lift it again once it touches, because a ring that has been pressed and pulled loses its seal. Sit lightly on the bowl to compress the wax evenly, then check it with a level front to back and side to side.
Do not overtighten
Tighten the closet nuts a little at a time, alternating side to side, until the toilet is firm. Porcelain cracks under uneven force. If the bowl still rocks, shim it with plastic shims rather than cranking the nuts. Trim the bolts last and add the caps.
Tank, supply line and the test that matters
Attach the tank to the bowl with the supplied bolts and gasket if it comes separate, again alternating tension. Connect the new supply line to the valve and the tank fill valve by hand, then snug the nuts a quarter turn with a wrench.
Open the water slowly. Let the tank fill, flush several times and run your hand around the base, the supply nut and the tank bolts. Dry tissue held against each joint shows a leak instantly. Watch the floor for ten minutes or so, then again later that day.
Finish with caulk around the base only if you want it, and leave a gap at the back so a future leak can show itself rather than hide.
Toilet rocking, leaking or running after the install?
A licensed plumber can reset the seal, check the flange and fix the fill valve, with the price made clear first.
When to stop and hand the job to a plumber
The floor is soft
Rot needs repair of the subfloor before any toilet is set, and that is carpentry as well as plumbing.
The flange is broken or not secured
A toilet set on a loose flange will leak sewage gas and water.
The drain below is slow or gurgling
A new toilet will not fix a partial blockage in the line.
The pipe below looks old or damaged
Corroded cast iron or crumbling fittings under the floor are beyond a weekend repair.
Water appears at the base after testing
Re-seating once is fine. A second leak means something underneath is off.
Our plumbing installation team handles flange repairs, stack work and full bathroom installs.
Installing a toilet in an Elmwood Park house
The CMAP housing snapshot puts the median Elmwood Park home at a 1955 build, with roughly 29 percent built before 1940 and about 77 percent before 1970. In houses that age, the plumbing below the bathroom floor is often original, so cast iron, clay or galvanized lines are common to find. That is no reason to panic. It is a reason to look closely at the flange and the pipe before you set the new bowl.
Many local buildings are two-flats or larger, and about a third of households rent. If you rent, the toilet belongs to the owner, so call the owner first. In a multi-unit building, a leak under your bathroom can damage the ceiling of the unit below.
Homeowners who do their own plumbing here sign a hold harmless form with the building department, and the department can tell you whether a plain fixture swap needs paperwork. Inspections are booked two working days ahead. The same steps apply next door, and our River Grove page explains how that village runs its own permits, while the service area page lists every village we cover.
Sources: CMAP community data snapshot, Village of Elmwood Park licensing and permit pages, MWRD flood resource guidance
Toilet installation questions, answered
It is not worth the gamble. Wax that has been compressed once rarely reseals well, and a new ring costs very little compared with a flooded bathroom.
Do not keep tightening. Use plastic shims under the base to stop the movement, then snug the nuts gently. Cranking down on a rocking bowl is how porcelain cracks.
Often the fill valve or flapper needs adjusting, or the float is set too high. Our toilet repair plumbers can sort it quickly if you would rather not fiddle.
Not always. If the flange and floor are in good shape and you are comfortable with the steps, many homeowners do it themselves. Any sign of a damaged flange, a soft floor or a failing pipe turns it into a plumber's job.
Setting the toilet on a flange that is damaged or sitting too low, then compensating by overtightening. A good seal needs a sound base, not force.
Yes. The Village asks homeowners who do their own work to sign a hold harmless form, and inspections are booked two working days ahead. Combined sewers also mean MWRD's advice applies at home: only waste and toilet paper go down the toilet.
Standards and sources: Work in Illinois follows the Illinois Plumbing Code (77 Ill. Adm. Code 890), and the Village of Elmwood Park building department applies those minimum standards locally. Backup and flood guidance comes from the Metropolitan Water Reclamation District flood resource guide, which advises keeping only waste and toilet paper going down the toilet.